Mastering Tiptap – Getting Started
Published at 15-03-2025
See all the code for this branch on GitHub.
For me, the easiest way to get started was with one of the new Laravel 12 Starter Kits. I chose the Livewire variant without Volt. After that, I removed some of the boilerplate to keep the project a bit leaner.
This is how I did it. You can also install a clean Laravel setup. In that case, you'll need to install Livewire manually as well.
Depending on your local setup, make sure HTTPS is enabled and that the APP_URL in your .env file is up to date.
Good to know: in my application, I use full-page components. In this series, we use the
Welcomecomponent for setting up the initial body load and to mimic a save.
Install Tiptap
Before we continue, let's install Tiptap by running the following command. I personally use Bun instead of NPM, but since most people use NPM, that’s what I’ll use in the examples:
npm install @tiptap/core @tiptap/pm @tiptap/starter-kitCreate a Full Page Livewire Component
Now the fun stuff begins: creating the component and getting the editor running on screen.
You’ll need to create or update a few files—this is the initial setup to get the standalone app/code to work. I’ve also created some Blade components to keep things clean and readable.
app/Livewire/Welcome.php
<?php declare(strict_types=1); namespace App\Livewire; use Livewire\Component;use Illuminate\Foundation\Inspiring; class Welcome extends Component{ public string $body = 'Hello world! :-)'; public string $output = ''; public function setQuote() { $this->body = str(Inspiring::quote())->stripTags()->replace(["\r", "\n"], '')->value; } public function save() { $this->output = $this->body; }}routes/web.php
<?php use App\Livewire\Welcome;use Illuminate\Support\Facades\Route; Route::get('/', Welcome::class)->name('home');resources/views/components/layouts/app.blade.php
@php $title = 'Mastering Tiptap - Installing Tiptap' @endphp <!DOCTYPE html><html lang="{{ str_replace('_', '-', app()->getLocale()) }}"> <head> <meta charset="utf-8"> <meta name="viewport" content="width=device-width, initial-scale=1"> <title>{{ $title }}</title> @vite(['resources/css/app.css', 'resources/js/app.js'])</head> <body class="flex justify-center bg-zinc-100"> <div class="p-6 mt-12 bg-white shadow-xl w-2xl rounded-xl"> <h1 class="mb-8 text-xl font-medium">{{ $title }}</h1> {{ $slot }} </div></body> </html>resources/views/components/tiptap-button.blade.php
<button type="button" {{ $attributes }} class="px-2 py-1 transition border rounded cursor-pointer border-zinc-500 text-zinc-500 hover:bg-sky-100 hover:border-sky-500 hover:text-sky-500"> {{ $slot }}</button>resources/views/components/tiptap.blade.php
<div x-data="tiptap($wire.entangle('{{ $attributes->wire('model')->value() }}'))" wire:ignore {{ $attributes->whereDoesntStartWith('wire:model') }}> <div x-ref="toolbar" class="mb-2"> <x-tiptap-button @click="toggleBold()" x-bind:class="{ '!bg-sky-500 !border-sky-500 !text-white' : isActive('bold', updatedAt) }">Bold</x-tiptap-button> </div> <div x-ref="editor" class="px-4 py-3 border rounded border-zinc-500 text-zinc-500 focus-within:border-sky-500"></div></div>resources/views/livewire/welcome.blade.php
<div> <form wire:submit.prevent="save"> <x-tiptap wire:model="body"></x-tiptap> <div class="flex justify-end gap-2 pt-6 mt-6 border-t border-zinc-300"> <button type="button" wire:click="setQuote" class="px-3 py-1 transition border rounded cursor-pointer text-zinc-400 border-zinc-400 hover:bg-zinc-100 hover:text-zinc-500">Update Body</button> <button class="px-3 py-1 transition border rounded cursor-pointer text-zinc-400 border-zinc-400 hover:bg-zinc-100 hover:text-zinc-500">Save Body</button> </div> </form> <div wire:show="output"> <label class="block py-2 text-zinc-400">Output:</label> <div wire:text="output" class="px-4 py-3 border rounded border-zinc-400 text-zinc-400"></div> <hr class="my-6 border-t border-zinc-300"> <label class="block py-2 text-zinc-400">Rendered output:</label> {!! $output !!} </div></div>resources/js/app.js
import { Editor } from '@tiptap/core'import StarterKit from '@tiptap/starter-kit' document.addEventListener('alpine:init', () => { Alpine.data('tiptap', (content) => { let editor return { content: content, updatedAt: Date.now(), init() { const _this = this editor = new Editor({ element: this.$refs.editor, content: this.content, extensions: [StarterKit], onCreate() { _this.updatedAt = Date.now() }, onUpdate() { _this.content = editor.getHTML() _this.updatedAt = Date.now() }, onSelectionUpdate() { _this.updatedAt = Date.now() }, editorProps: { attributes: { class: 'focus:outline-none', }, }, }) this.$watch('content', (content) => { if (content === editor.getHTML()) return editor.commands.setContent(content, false) }) }, isLoaded() { return editor }, isActive(type, opts = {}) { return editor.isActive(type, opts) }, toggleBold() { editor.chain().focus().toggleBold().run() }, } })})Let's Try It Out!
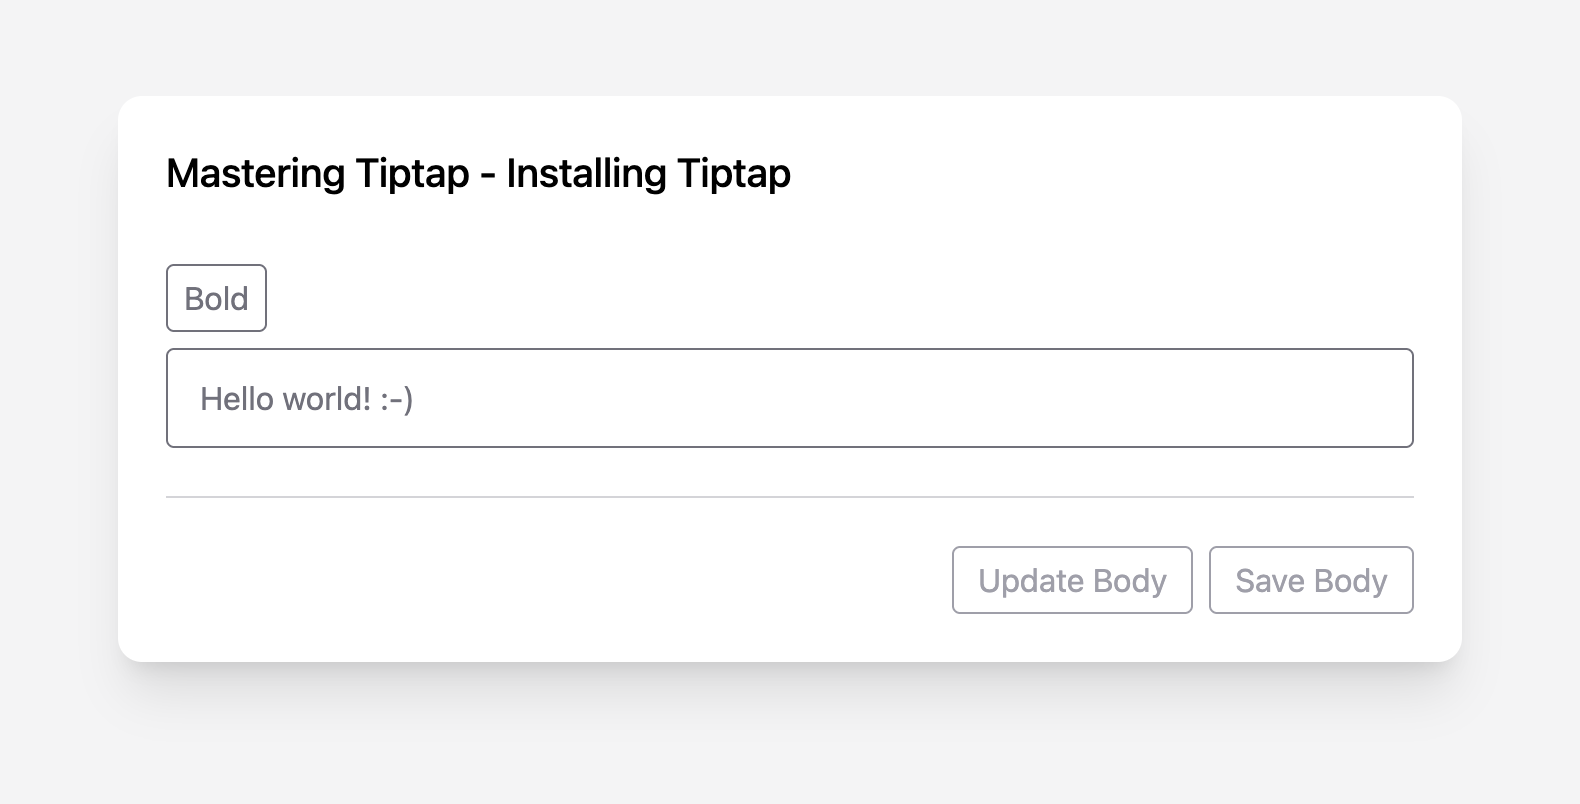
You should now have a working editor with the option to set text to bold. You’ll also see two extra buttons: "Update Body" and "Save Body". Your app should look something like this:

Update Body
This button sets a quote as the content of the editor. It's a simple way to demonstrate how you can set content programmatically—and how nicely Tiptap handles it.
Save Body
This will show you the output: both the raw HTML generated by the editor (which you could store in your database), and the rendered output, so you can see how it would look on a real page. This will become especially interesting when we start working with more advanced features.